Tweaking the Laguna 14-Twelve Bandsaw
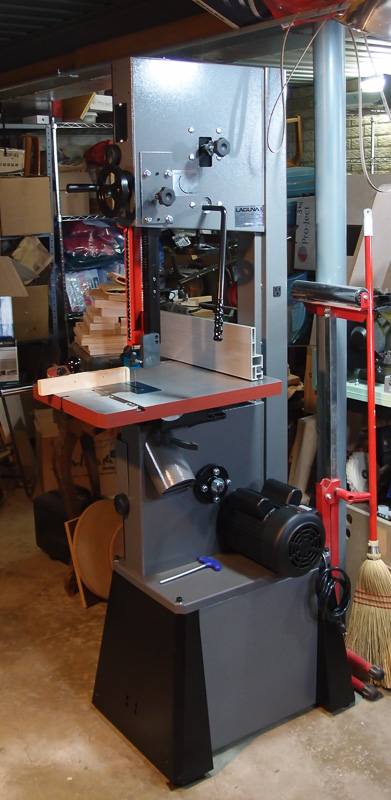
I purchased this bandsaw from Woodwerks in Columbus, Ohio in 2015. Freight via residential liftgate delivery was very reasonable. The driver wheeled the carton into my garage. In the garage, I unpacked the box, and was able to move the disassembled tool piece by piece. It's not light, but I managed to move the heaviest part using a hand truck into my small space.
It is installed in a very small space with limited access, so it had to be assembled in place. It wasn't the easiest assembly task, but it wasn't insurmountable for one person.
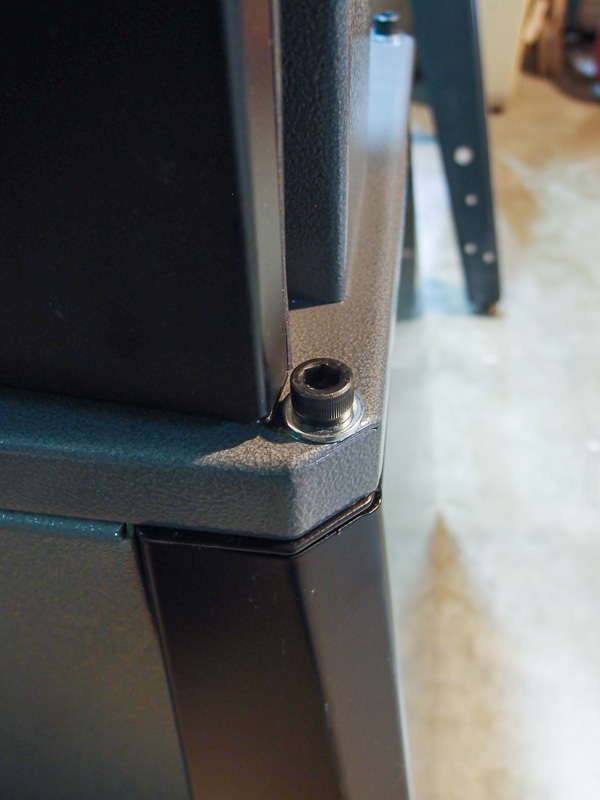
Upon assembly, the lower door would foul one of the supplied base screws and the door would not open. I purchased some socket head cap screws and small diameter washers to allow clearance for the door. The four socket head screws were 3/8-16 x 1-1/2" long. The washers were 3/4" diameter. Here is a photo of the new items in place. You can see that there is now space for door's corner to clear the fastener. Only one was a problem, but I retrofitted all four fasteners for consistency.
I also found some rough edges on the cast iron trunions for the table. I took a small needle file to them to chamfer the rough edges so that they wouldn't score the mating aluminum piece.

The last step before use was to find an adapter for the dust port. My Shop Vac/Dust Deputy hose was much smaller than the 4" port.
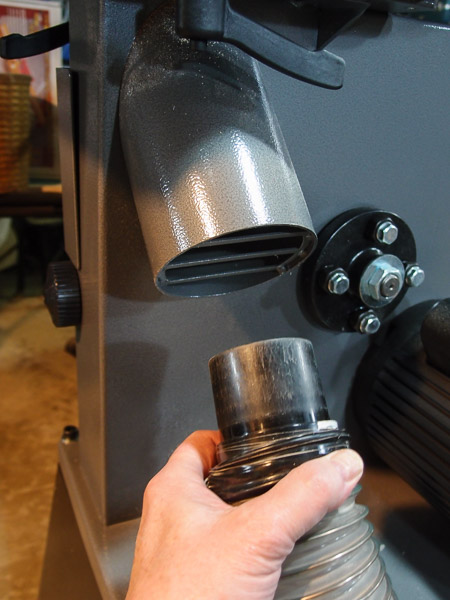
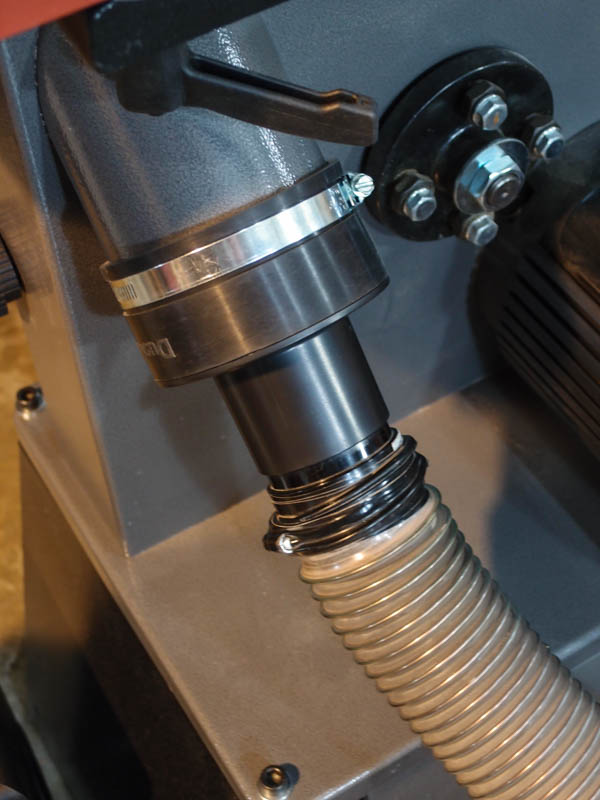
I found a 4" to 2-1/4" adapter that had a flexible rubber sleeve for the bandsaw, and a hard plastic opening for the hose end. I purchased it online from Rocker, part number 52906. The $15 part is called a 4" to 2-1/4" tool port, and is made by Dust Right.
At this point, I began using the saw. I am pleased with it's performance. I soon painted the edges of the table red so that I could see it easier in my very crowded shop. I kept banging into it before that little modification for visibility.
More Tweaks
Fence improvement: As I used the fence, I experienced a little slop in the T-square's fit onto the rail. When moving the fence, it had side-to side play - especially at the far end. You would tighten the lock knob, and the fence would shift a bit as the mechanism would lock into place. To remove this slop, I installed some nylon-tipped setscrews on either end of the fence casting that rides the chrome rail. I put these steps on a separate page here.
Reduce damage to guide column: The locking knob to hold the vertical position of the saw's guide had sharp edges and marred the column. The threads had a raised lip around the end. It dug into the aluminum blade guide column. I ground the knob's tip to remove the sharp edge and to provide a much larger surface area for locking. See a brief description here.
Fitting the throat plate: The blue-anodized throat plate was stamped from fairly thick aluminum stock. The stamping had some raised rough edges around its periphery. This caused excess friction and affected how easily it was adjusted flush with the table. Some simple smoothing of the edges with a file was all it took. The filing, which removed the blue anodizing in filed areas, is not visible when installed back into the saw. See photo here.
Page created and copyrighted © 4/11/2018 by William Schneider
All photos copyright © William Schneider